Connecting MeasureON! to Wi-Fi is a simple process, which has been broken down into a series of easy to follow steps. Before beginning, identify the harness serial number (specifically the last 3 digits), the Wi-Fi SSID (network name) and password, and ensure bluetooth on the mobile device is turned on.
1. Open the VetMeasure app and select the “Setup Harnesses” tab from the dropdown menu in the upper left corner
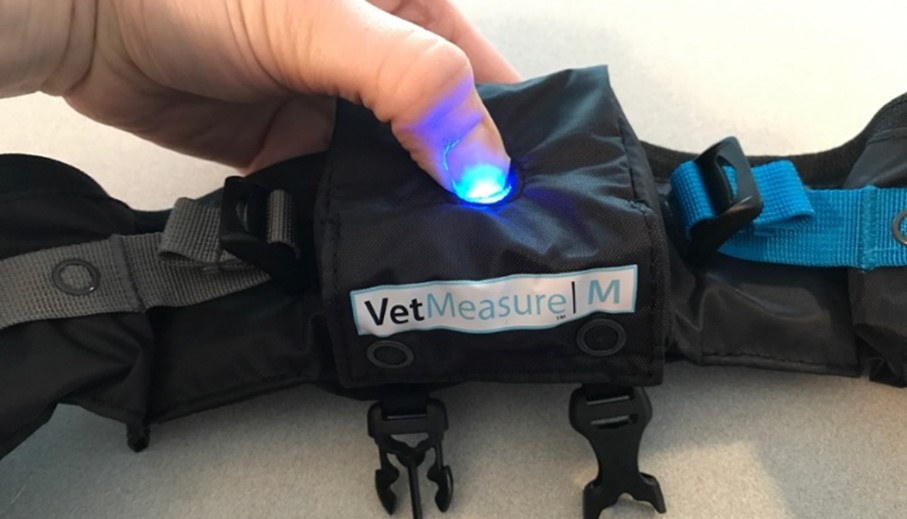
2. Press and hold the harness button for 10-15 seconds, until the light starts blinking blue. This indicates the harness is in configuration mode and is sending out a bluetooth signal. Configuration mode expires after two minutes if MeasureON! has not been connected to WiFi.
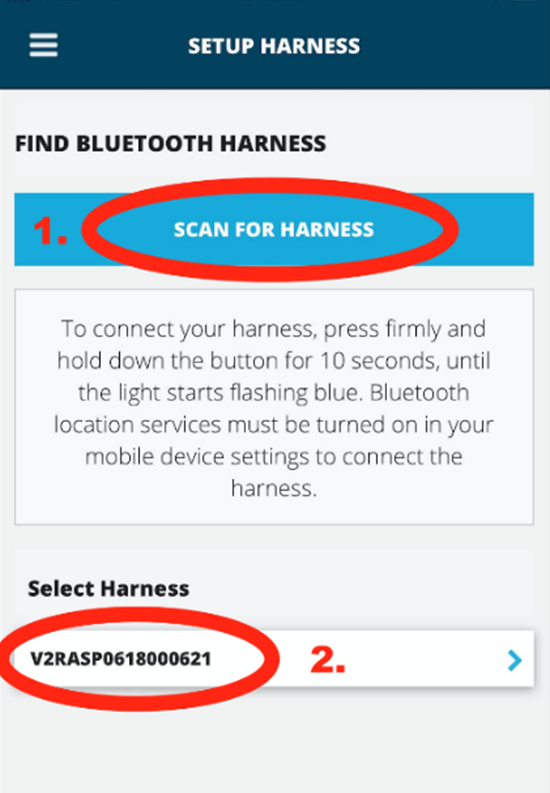
3. Click “Start Scan” to ask the mobile device to search for local bluetooth signals. The harness serial number, and other bluetooth devices in the area, will appear on the list. Select the harness by clicking on the serial number.
4. A pop-up box will appear, prompting the Wi-Fi SSID and password to be typed. Please note that users will first need to delete “Unconfigured” and that these fields are case sensitive. Verified these fields are correct and click “Save.”
5. While your harness is processing the Wi-Fi credentials you have typed in, you will see a pop-up on your mobile device, indicating that this connection is being established.
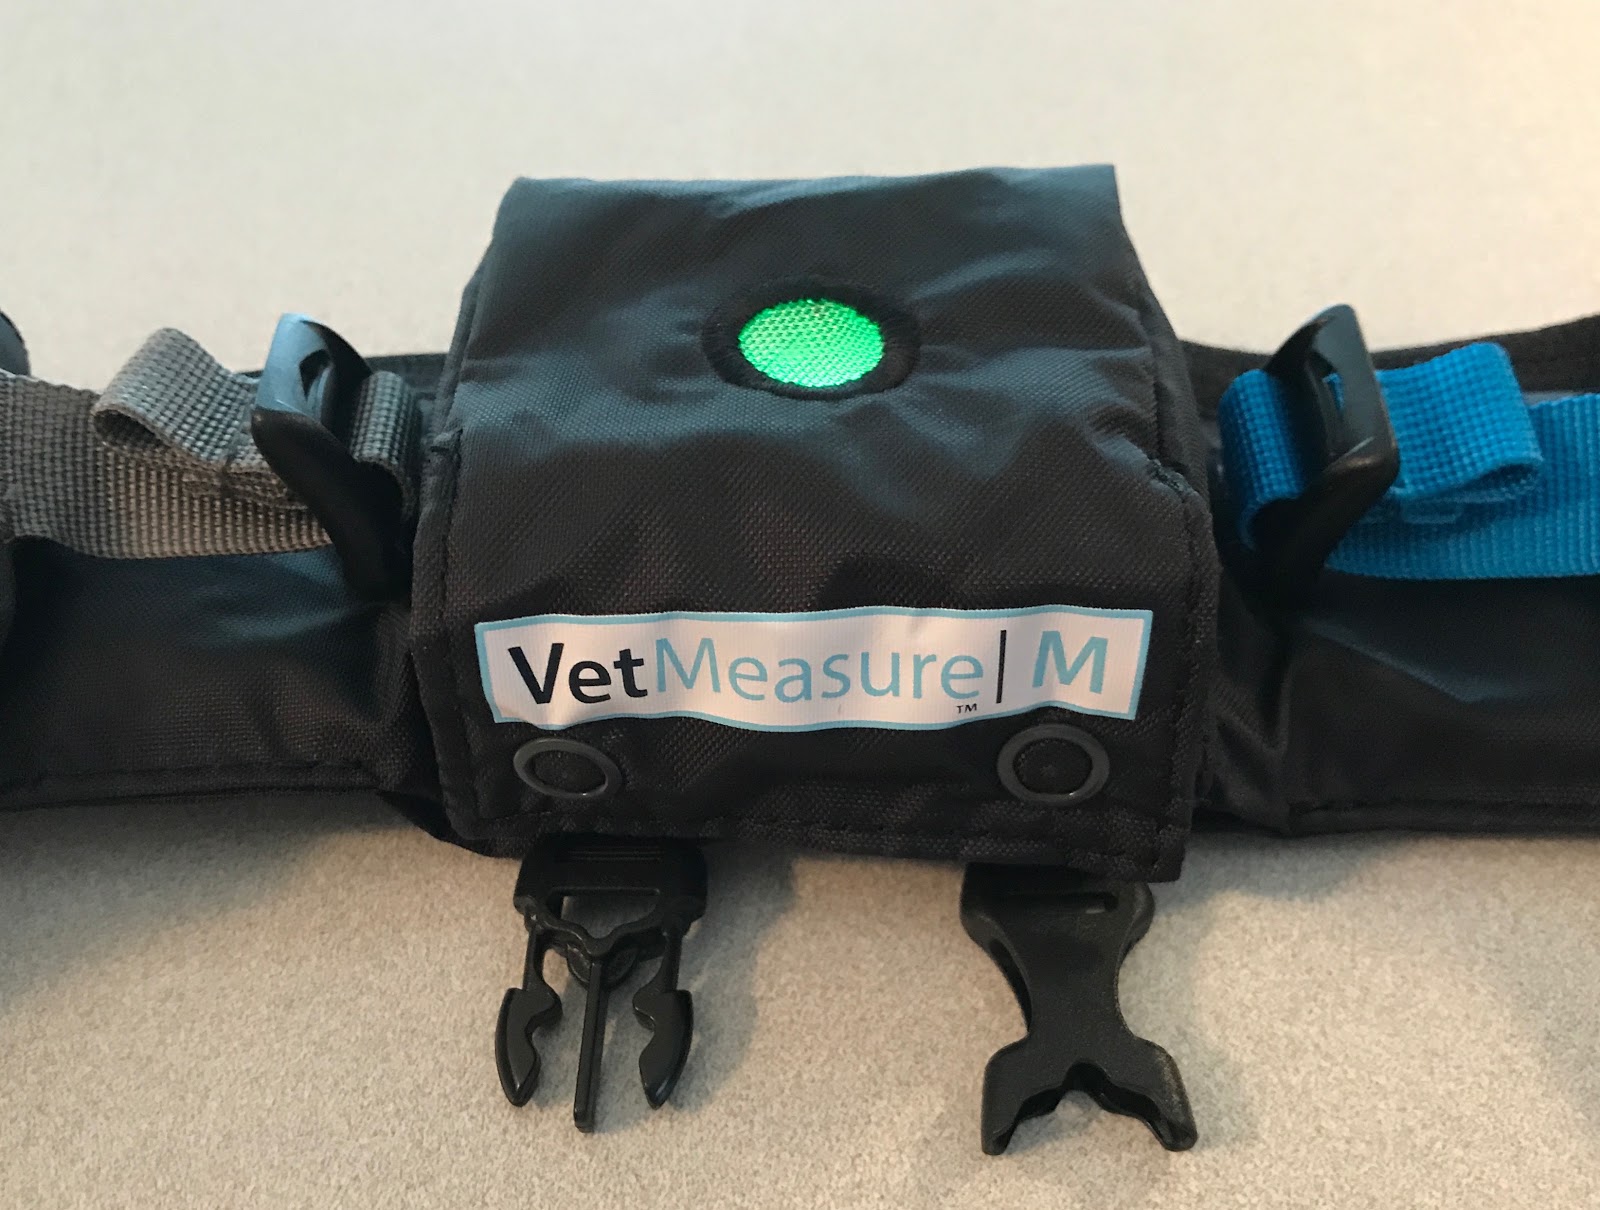
6. The harness light will flash green indicating the harness has recognized that was sent new Wi-Fi credentials
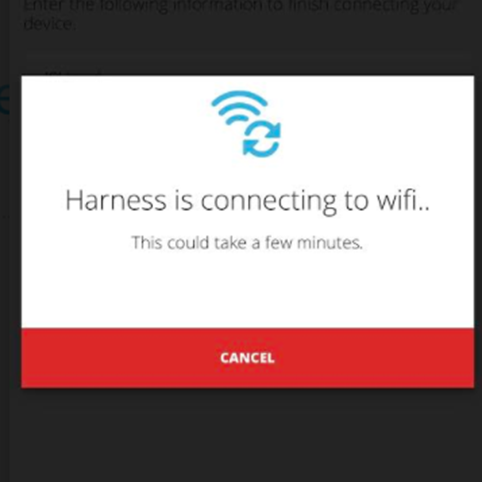
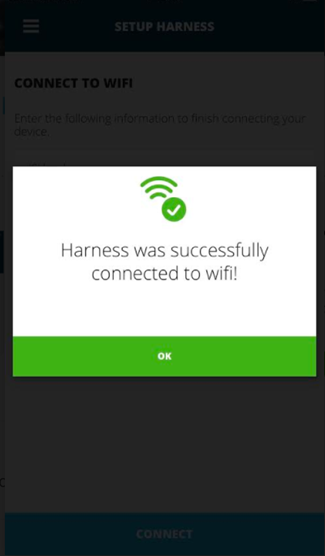
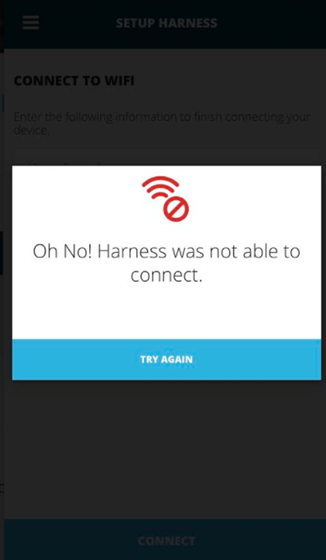
7. Additionally, you will see a pop-up window on the app confirming that your harness was able to successfully connect to Wi-Fi, or that there was a problem establishing this connection. If a connection is unable to be established, this is likely due to a typo while typing in the SSID and password.
The last used Wi-Fi network information is saved, so next time the harness is turned on it will automatically connect.
